Getting Started
Section contents
In this section, we will introduce the different steps in order to get a working environment in which one can call the libray’s classes and functions and run python scripts.
Installing Anaconda & Packages
Anaconda is a distribution of Python that includes pre-installed packages and development tools (e.g Jupyter, Spyder, ...). We recommend using Anaconda as the main dependencies of the library (such as numpy and scipy) are already installed. The library was written in Python 3.x, so we recommend using Anaconda 3.x that natively supports Python .x (although you can use virtual environment to use Python 3.x with Anaconda 2.x).
Anaconda is available for download here.
Whenever one needs to install a package, the following command is usually sufficient.
conda install <*package_name*>
For example, if one wants to install the Python package seaborn, typing the following in the command prompt launches the install procedure.
conda install seaborn
More details about package management can be found here
Installing an python IDE : JetBrains PyCharm
An IDE (Integrated Development Environment) is a software that helps the user write code by offering different tools and features (auto-completion, debugging, integrated unit-testing, ...).
We recommend the use of JetBrains PyCharm available here (under two different licenses).
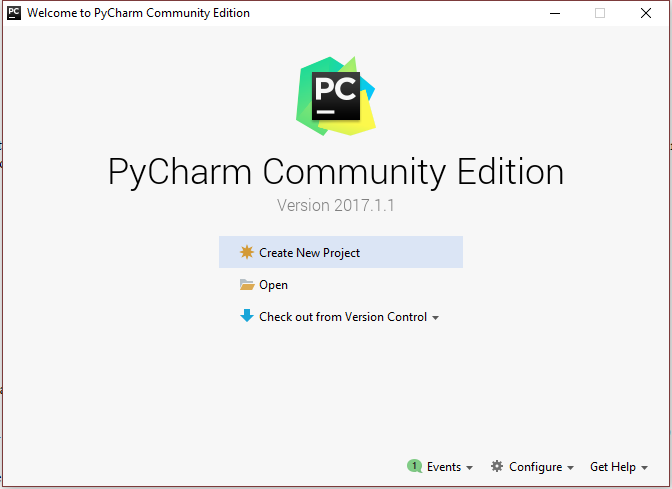
Once installed, run PyCharm to get the following screen:
Click on “Open” and select the folder containg the American Pricer’s code. Once done, click on File > Settings and then go to “Project Interpreter” screen as shown below

Finally, make sure to select the path containing the installation of your Anaconda 3.x distribution (in the example above the path is “C:\Users\j_hat\Anaconda3\python.exe”.
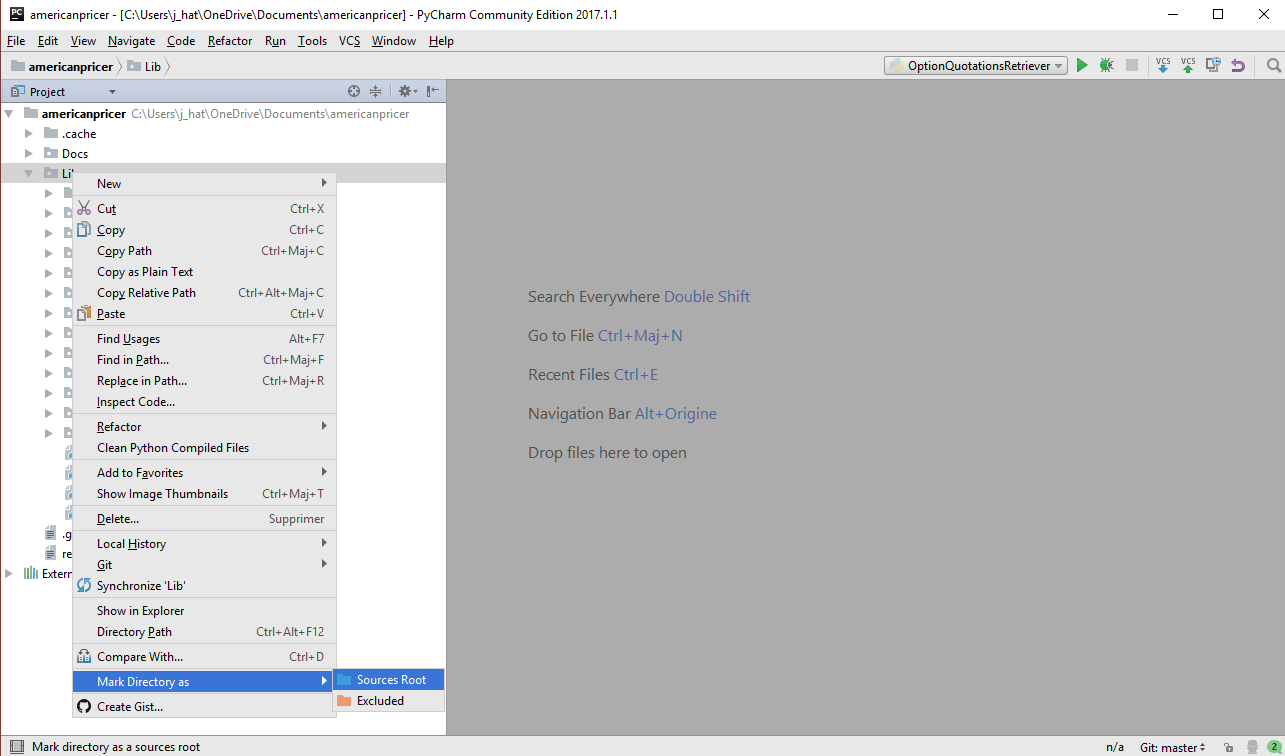
Setting the sources root in PyCharm
In order to tell PyCharm where to look for the classes when instantiating them, one needs to define the sources root. By default, if no sources root is defined PyCharm will consider the root of the project as the sources root. If the modules are situated in sub folders PyCharm will not be able to find them unless one specifies the folders explicitly.
The source code for our library is situated under the folder “Lib”, in order to mark this folder as a sources root in PyCharm, just right-click on the folder “Lib” and then select “Mark Directory as” then select “Sources Root” as shown in the screenshot below.
Running a script
Go to the folder Lib then open the python file “scripts.py” as shown below
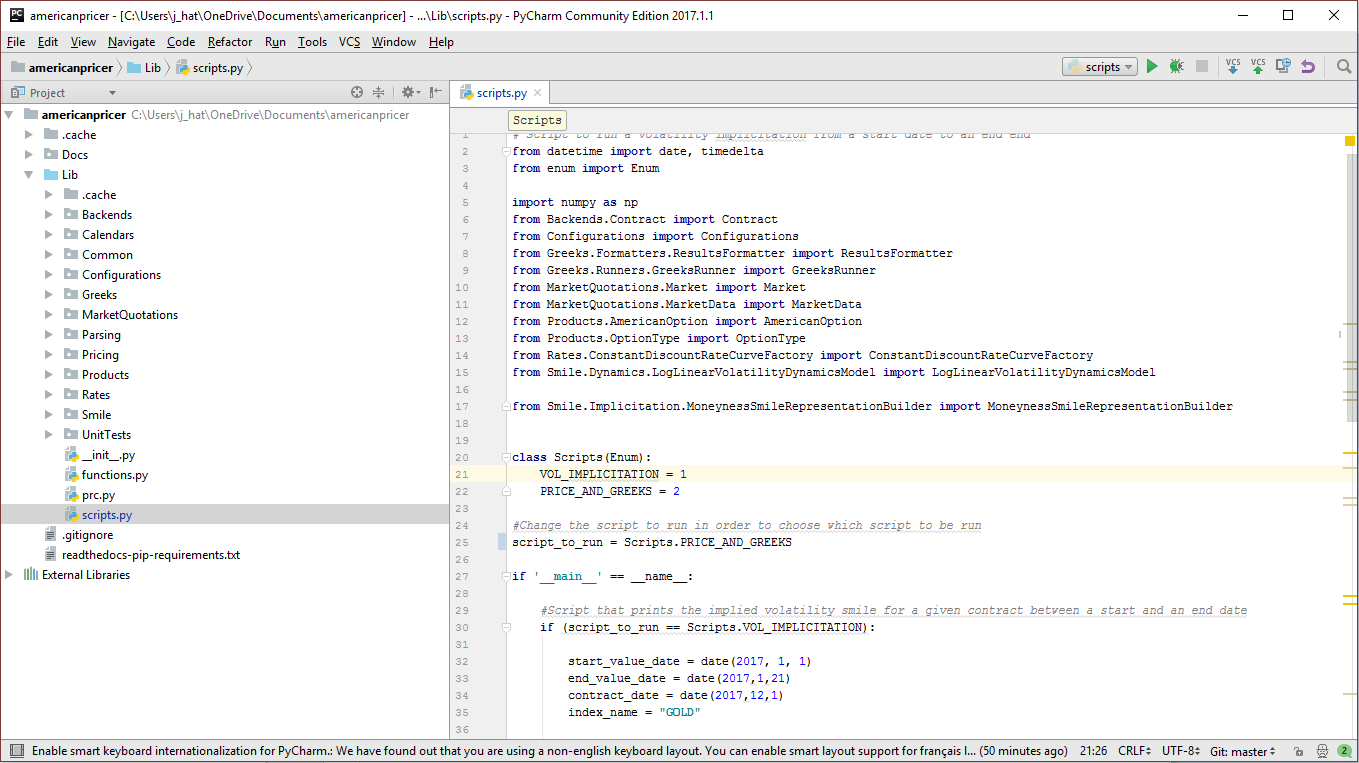
Then right click on the code of the script and select “Run ‘scripts’”